Article by: Nelly Reffet
As much as we love white kitchens for their timeless versatility, bringing in color with the cabinetry can add a wow factor or brighten up a tired scheme. If you are a renter or want to introduce just a touch of color, you can add it subtly with hardware or occasional furniture. And if you’re ready to go bravely into a more permanent change or a bold new look, you can splash color in or on cabinets. See what a difference color can make in the kitchens below.
Bravery Level 1: Change Your Hardware
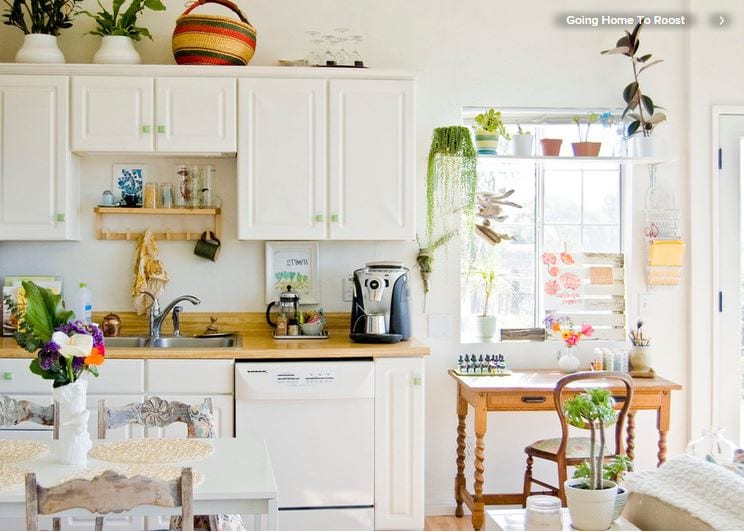
For a change that’s not too dramatic but still effective, replace your knobs and handles. Ceramic knobs and handles come in many colors, shapes and designs, and replacing them can bring a subtle but welcome change to your kitchen. It’s quick, cost effective and totally doable in a rental. Just make sure you keep the landlord’s old handles to screw back on again. Never underestimate the smaller changes. The details and finishing touches are often what make a room sing.
Bravery Level 2: Paint Occasional Furniture
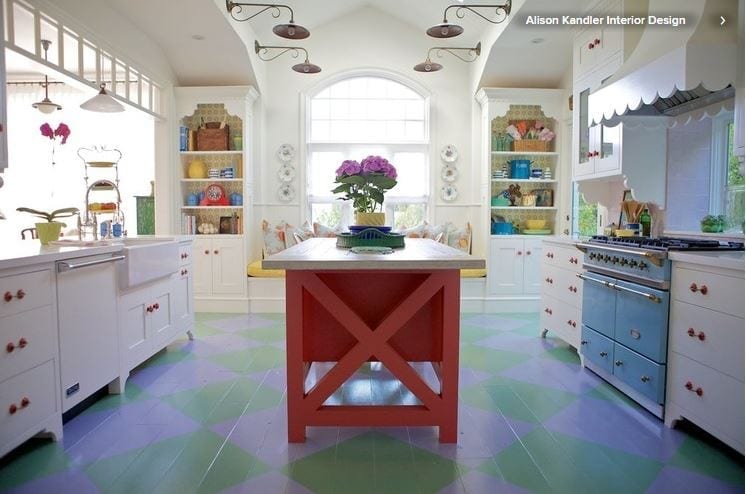
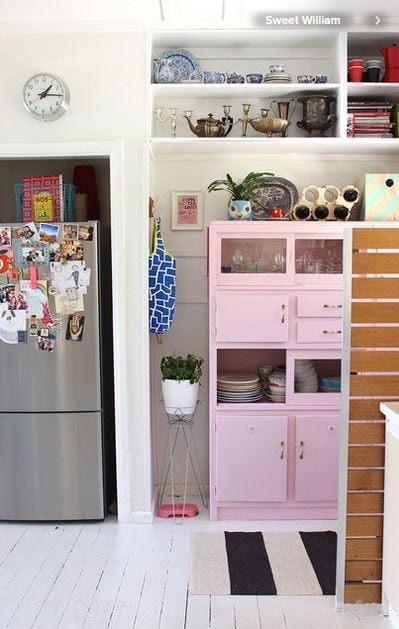
What if you are renting or you don’t feel like painting permanent fixtures, such as cabinets? You can paint occasional kitchen furniture, such as a butcher block, stand-alone pantry or kitchen island.
The best result is when the chosen color contrasts with the rest of your kitchen. In this kitchen, see how the red stands out, strong and vibrant, against the blue floors and the white everything else? To make sure your painted piece doesn’t become the elephant in the room, try using the same color again for accent items and decorative accessories, such as the door handles.
Painting furniture can be a little bit tricky and messy, and the result can look far from spotless if you rush it. First, take your piece of furniture to a well-ventilated, well-lit space, and make sure there is plenty of space to walk around it while it’s drying. Remove any knobs, handles, drawers and even doors if you can. Use painter’s tape to mask areas you do not wish to paint, such as glass on doors.
Next, prepare the furniture. No matter how much the paint packaging claims sanding is optional, be sure to sand your piece of furniture thoroughly. Even if you can apply paint without sanding, doing so will improve the longevity of your work. After sanding, clean your piece to remove any wood dust particles.
Depending on the paint you choose, and what the furniture surface is like, choose whether to use a primer before applying two coats of your finishing paint. Start by painting the frame. Then proceed with painting doors and drawers. Always make sure the paint is fully dry — not just touch dry — before you put the piece back in place.
Bravery Level 3: Dress Up the Backs of Your Cabinets
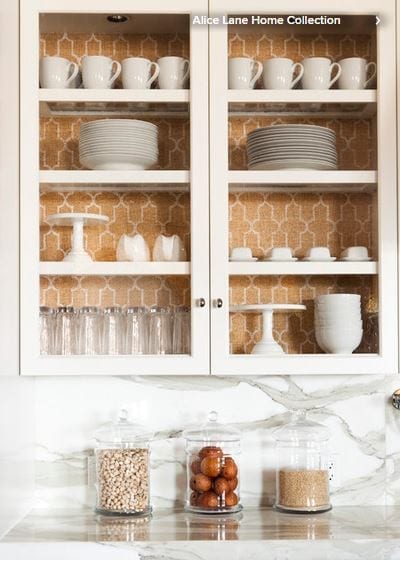
For cabinets with glass doors (or no doors), applying wallpaper or painting the backs of them is a fantastic way to add color and create a strong background to display your glassware against. For cabinets with only solid doors, adding color to the backs can be fun update that adds a little quirkiness and makes you smile every time you open the doors.
You can also paint the backs of your cabinets. For a nice professional finish, remove the shelves if possible, and apply painter’s tape to the frames and other surfaces you do not wish to paint. As I have an unsteady hand, I tend to opt for a wide tape — that way even if my brush slips a bit, my cabinets are still protected.
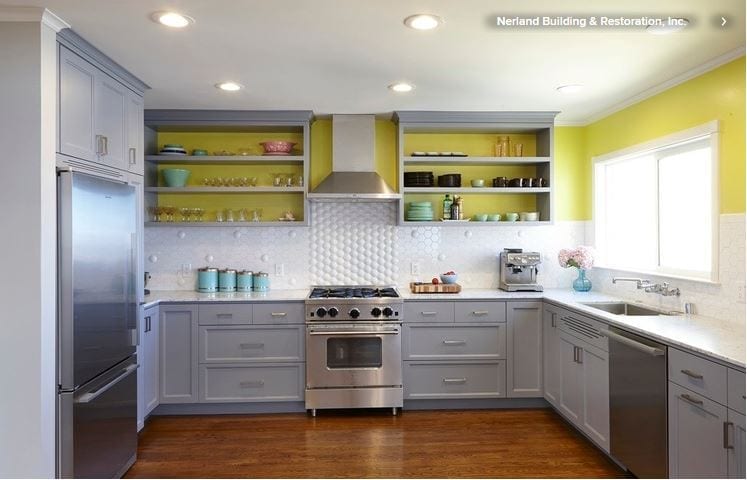
This kitchen scheme goes the extra mile, with a painted panel of sunny yellow above a white-tiled backsplash. This simple DIY trick really adds dimension to the kitchen.
Bravery Level 4: Paint the Shelves
Open shelving has made a strong comeback in kitchen design during the past couple of years. But more often than not, finishes are limited to white or wood. If you feel like adding an accent color, why not step gently out of the norm and paint your shelves a different shade of awesome? Don’t hesitate to go for a strong color — a shelf is reasonably small and is not going to overwhelm your space. It can easily be repainted if you grow tired of the color, so be brave and embrace that strong hue you have been dreaming of.
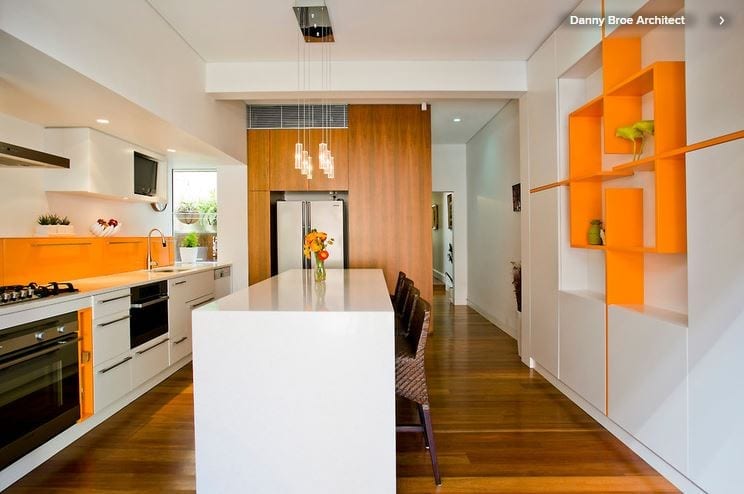
Bravery Level 5: Paint the Cabinets
Perhaps the boldest change you can make to your kitchen cabinets is to paint them. While the process can be time consuming, the results can be striking and take your kitchen to a new level. Whether your cabinets are wood or laminate, you can find the right type of paint in a wide range of colors. My biggest tip is that no matter how impatient you are and how promising the paint is supposed to be, don’t skip on the preparation phase, which is even more important for frequently used cabinets than for occasional pieces. Thorough sanding and priming are essential for a smooth and long-lasting finish.
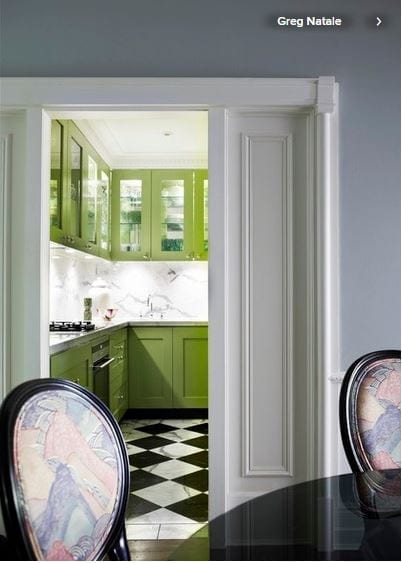
If you have a compact kitchen that doesn’t get much natural light, a bright color might be just what your space needs. These colorful cabinets have been paired with a graphic black and white tile floor. You could accessorize yours with superfunky pendant lights or gutsy artwork. Adding more boldness to the room will complement the cabinets while preventing them from overpowering the room, especially if it’s small.
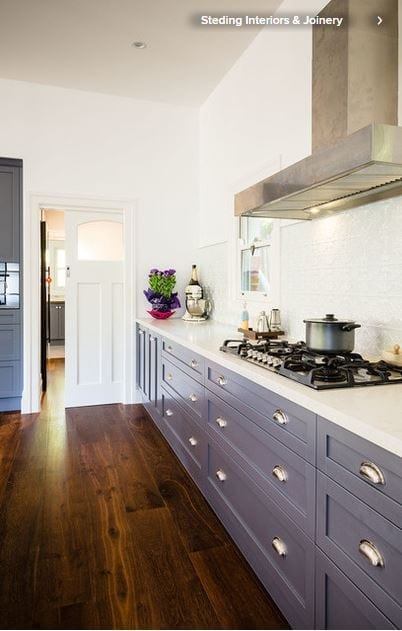
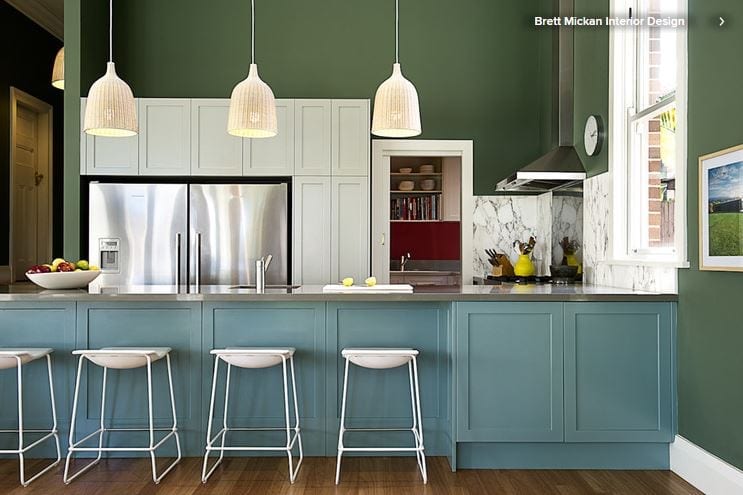
If you have always had a neutral kitchen and are not quite ready for a dramatic change, opt for cool, timeless or light shades such as navy blue, sage green, duck-egg blue and mint green. The color will add dimension and interest without being overstimulating.
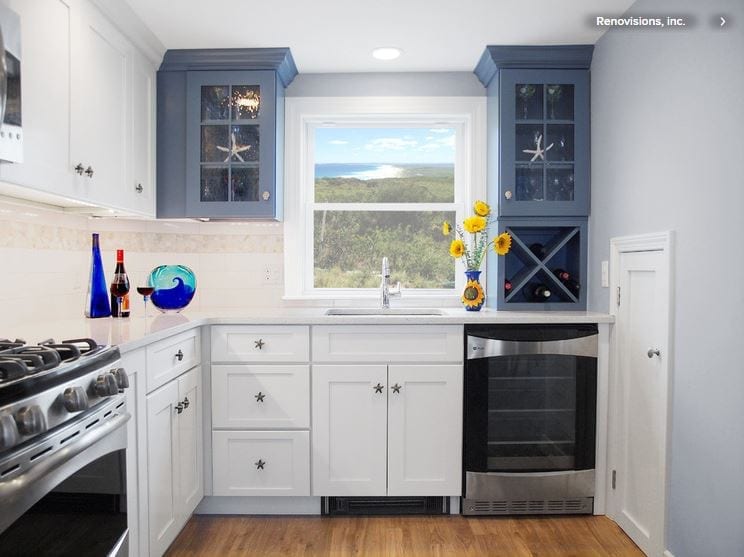
You don’t have to paint all of the cabinets, either — you can leave some white and paint others. For a partial color makeover, I often recommend that my clients paint cabinets that are already visually different from the rest — for example, a tall pantry versus standard cabinets or glass-door cabinets versus solid doors, and even upper cabinets (usually shallower and higher) versus base cabinets. The paint will enhance their differences, and since they are already different to start with, they might as well be really different and stand out.